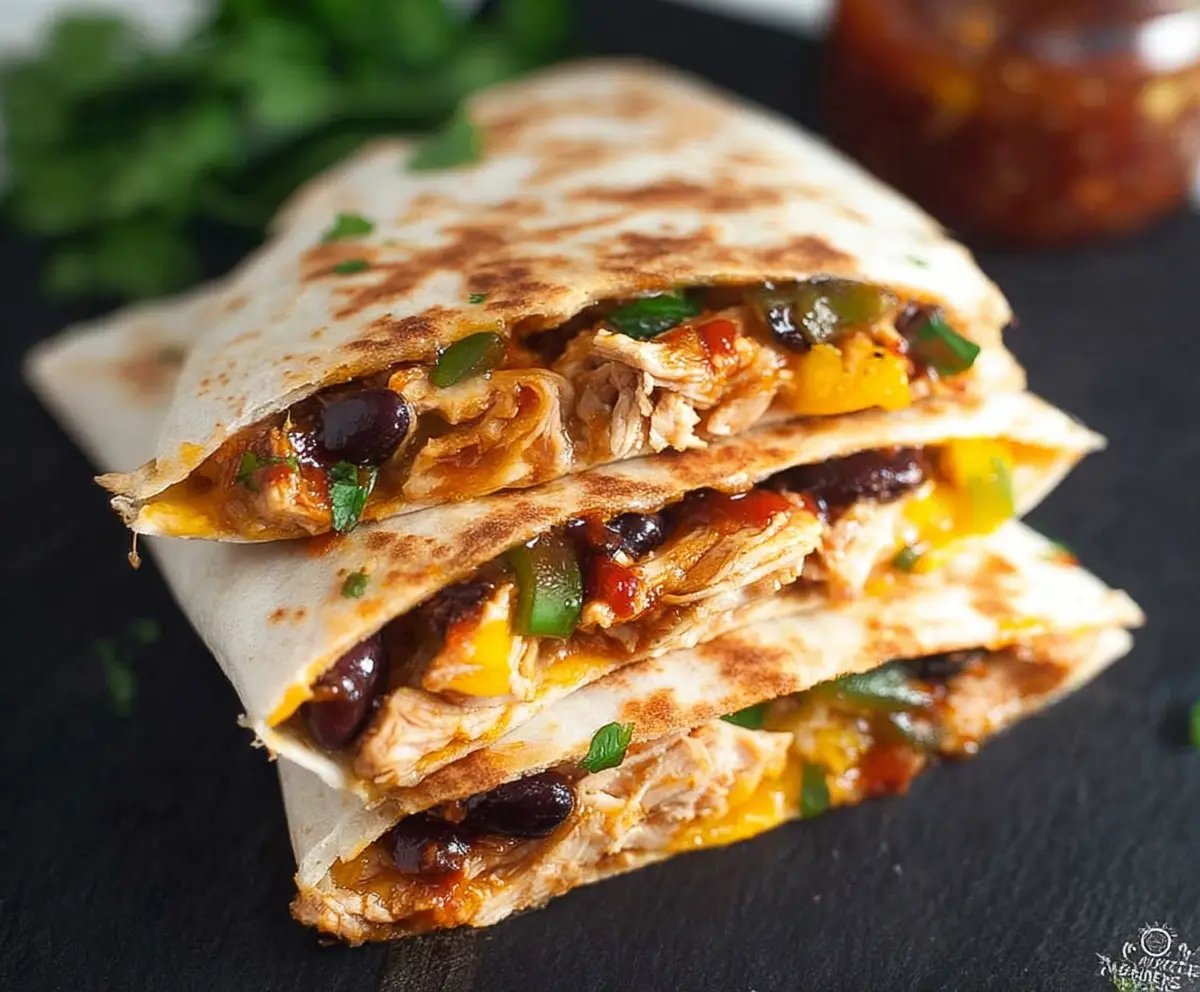
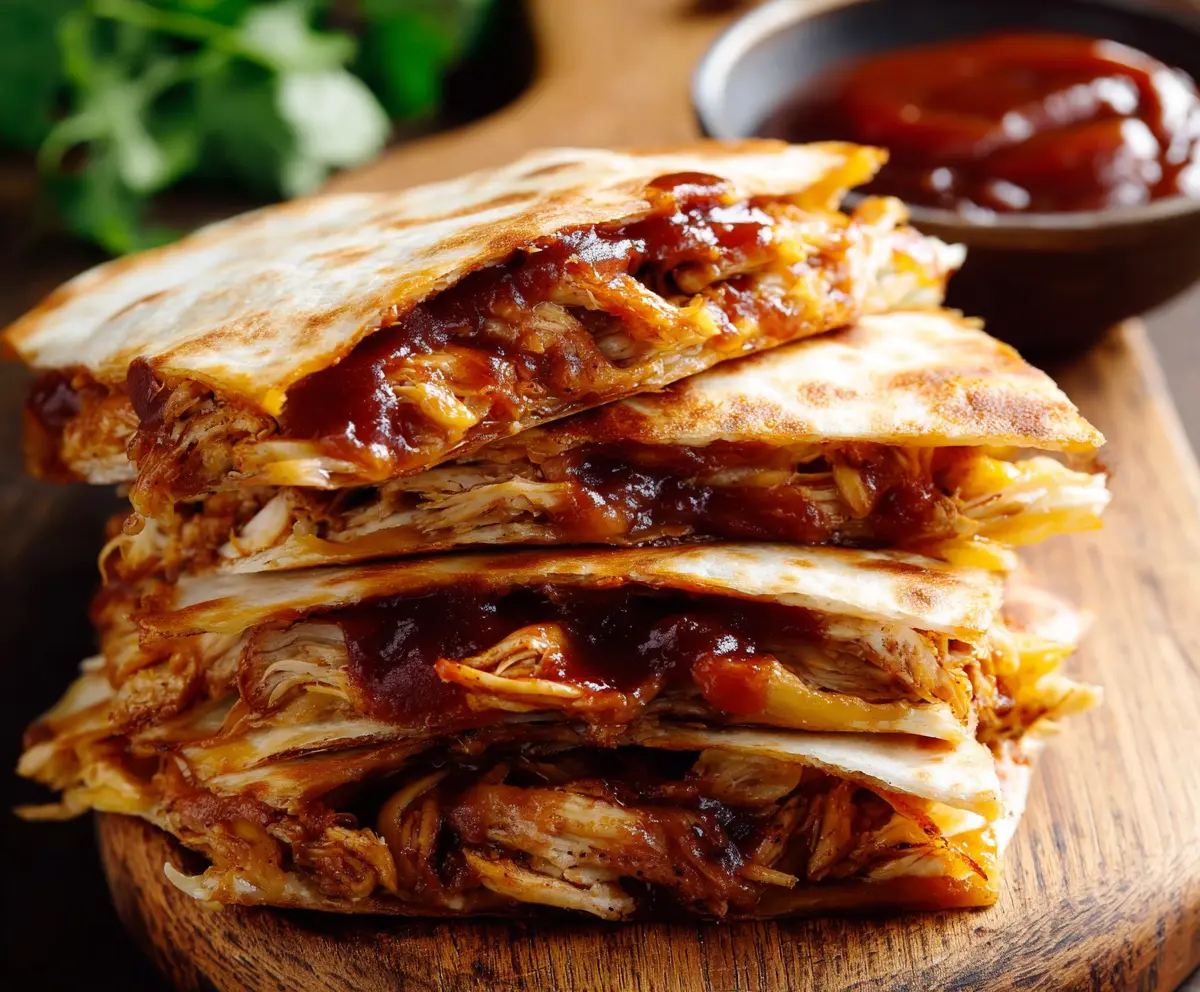
BBQ Chicken Quesadilla is a delicious mix of tender chicken, tangy barbecue sauce, melty cheese, and a crispy tortilla that comes together in just minutes. The sweet and smoky flavors from the BBQ sauce pair perfectly with the gooey cheese, making every bite a tasty treat.
I love making these quesadillas when I want something quick but satisfying. It’s one of those dishes that feels like a little celebration, even on a regular weeknight. My tip is to use leftover grilled chicken or rotisserie chicken to save time and add an extra layer of smoky flavor.
These quesadillas go great with a fresh side like a simple salad or some crunchy tortilla chips. I also like dipping mine in sour cream or a little extra BBQ sauce for a fun twist. Everyone always asks for seconds, and I’m pretty sure it’s because the combination of crispy edges and melty cheese is just so hard to resist!
Key Ingredients & Substitutions
Cooked Chicken: Using grilled or rotisserie chicken adds great flavor and saves time. If you’re short on cooked chicken, shredded leftover turkey works well too.
BBQ Sauce: This is the heart of the flavor! Choose a sauce you like—sweet, smoky, or spicy. If BBQ sauce isn’t available, you can mix ketchup with a bit of smoked paprika and honey as a quick substitute.
Cheddar Cheese: Cheddar melts nicely and gives a nice tangy flavor. You can swap in Monterey Jack, mozzarella, or a Mexican cheese blend if you prefer a milder or creamier taste.
Black Beans & Bell Peppers: They add texture and color. If you want, swap black beans for pinto or kidney beans. Bell peppers can be replaced with onions or corn for a different twist.
Flour Tortillas: Large, soft tortillas are best for folding and crisping. For a gluten-free option, try corn tortillas, but be careful when folding as they can be less flexible.
How Can I Get Crispy Quesadillas Without Burning Them?
Crispy quesadillas are all about the right heat and timing. Use medium heat and don’t rush the process.
- Heat the pan well before adding the tortilla—it should sizzle lightly.
- Add a bit of butter or oil to help the tortilla crisp up evenly.
- Cook slowly for 3-4 minutes per side so the cheese melts fully without burning the tortilla.
- Use a spatula to gently press the quesadilla and keep the filling snug inside.
- Flip carefully to avoid spilling the filling. If it’s stuck, loosen with the spatula before flipping.
Patience here pays off with golden, crispy edges and gooey cheese inside every time.
Equipment You’ll Need
- Large skillet – I recommend a non-stick or cast-iron pan, which makes flipping easy and helps get crispy edges.
- Spatula – Perfect for flipping and pressing down the quesadilla to help it crisp up.
- Cutting board and knife – For chopping bell peppers and cilantro.
- Measuring spoons and cups – To measure the BBQ sauce and cheese accurately.
Flavor Variations & Add-Ins
- Swap shredded chicken for cooked steak, shrimp, or tofu for different protein options.
- Add sautéed onions, jalapeños, or corn for extra flavor and texture.
- Use Monterey Jack or pepper jack cheese instead of cheddar for a milder or spicier kick.
- Mix in chopped avocado or top with shredded lettuce and lime for a fresh finish.
BBQ Chicken Quesadilla
Ingredients You’ll Need:
- 2 cups cooked chicken, shredded (grilled or rotisserie chicken works well)
- 1/2 cup BBQ sauce
- 1 cup shredded cheddar cheese
- 1/2 cup black beans, rinsed and drained
- 1/2 cup diced bell peppers (a mix of green and yellow)
- 1/4 cup chopped cilantro
- 4 large flour tortillas
- 1 tablespoon olive oil or butter, for cooking
- Optional: salsa and sour cream for serving
How Much Time Will You Need?
This recipe takes about 10 minutes to prep and 15 minutes to cook, so in roughly 25 minutes you’ll have delicious BBQ chicken quesadillas ready to enjoy. Great for a quick, tasty meal!
Step-by-Step Instructions:
1. Mix the Chicken and BBQ Sauce:
In a medium bowl, toss the shredded cooked chicken with the BBQ sauce until all pieces are nicely coated. This gives your quesadilla that smoky, tangy flavor.
2. Heat the Skillet:
Place a large skillet on medium heat and add a little olive oil or butter to lightly coat the bottom. This helps your tortilla crisp up perfectly.
3. Assemble the Quesadilla:
Put one tortilla flat in the skillet. On half of it, sprinkle some shredded cheddar cheese. Then layer on the BBQ chicken, black beans, diced bell peppers, and some chopped cilantro. Top with a little more cheddar cheese, then fold the other half of the tortilla over the filling.
4. Cook Until Golden and Melty:
Cook for 3 to 4 minutes until the bottom is golden brown and the cheese starts to melt. Carefully flip the quesadilla over and cook the other side for another 3 to 4 minutes until it’s golden and the cheese is fully melted inside.
5. Serve and Enjoy:
Remove the quesadilla from the skillet and let it rest for a minute. Cut into wedges and serve warm with salsa and sour cream, if you like. Repeat the process for the remaining tortillas and filling.
Can I Use Frozen Chicken for This Recipe?
Yes! Just make sure to fully thaw the chicken before shredding and mixing with the BBQ sauce. Thaw in the fridge overnight or use the defrost setting on your microwave for a quicker option.
What Can I Substitute for Black Beans?
You can swap black beans with pinto beans, kidney beans, or even cooked corn kernels. These options will keep a similar texture and add their own flavor to the quesadilla.
How Do I Store Leftover Quesadillas?
Wrap leftovers tightly in foil or place in an airtight container and refrigerate for up to 3 days. Reheat in a skillet over medium-low heat to keep them crispy, or microwave briefly if short on time.
Can I Make These Ahead of Time?
Absolutely! Assemble the quesadillas and store them in the fridge for a few hours before cooking. Just cook them straight from the fridge, adding a little extra time to ensure they’re heated through and cheese melts nicely.