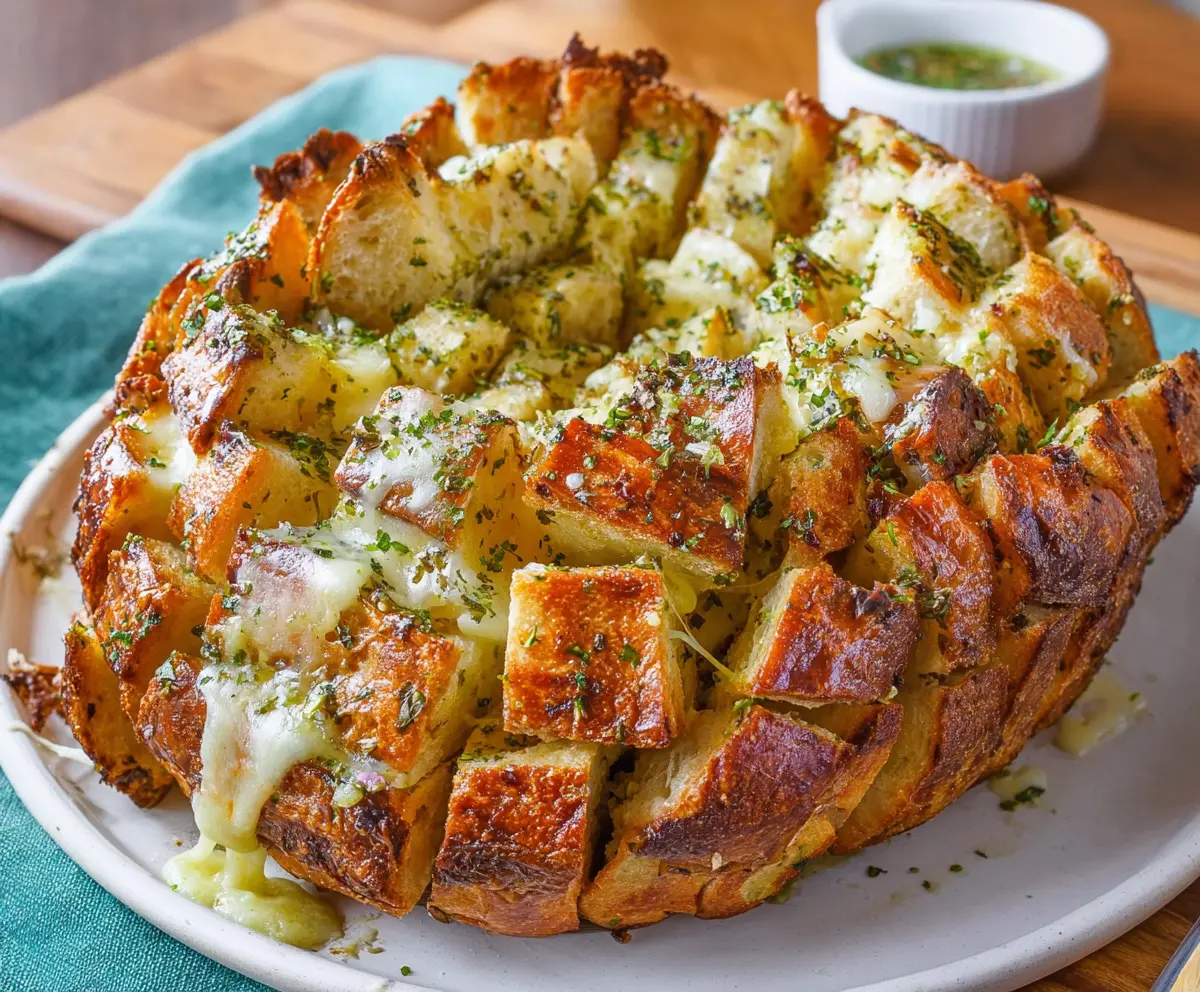
Cheesy Pull Apart Garlic Bread is the perfect treat for garlic lovers and cheese fans alike. Imagine warm, soft bread loaded with butter, garlic, and gooey melted cheese that you can easily pull apart piece by piece. It’s simple, fun, and totally satisfying with every bite.
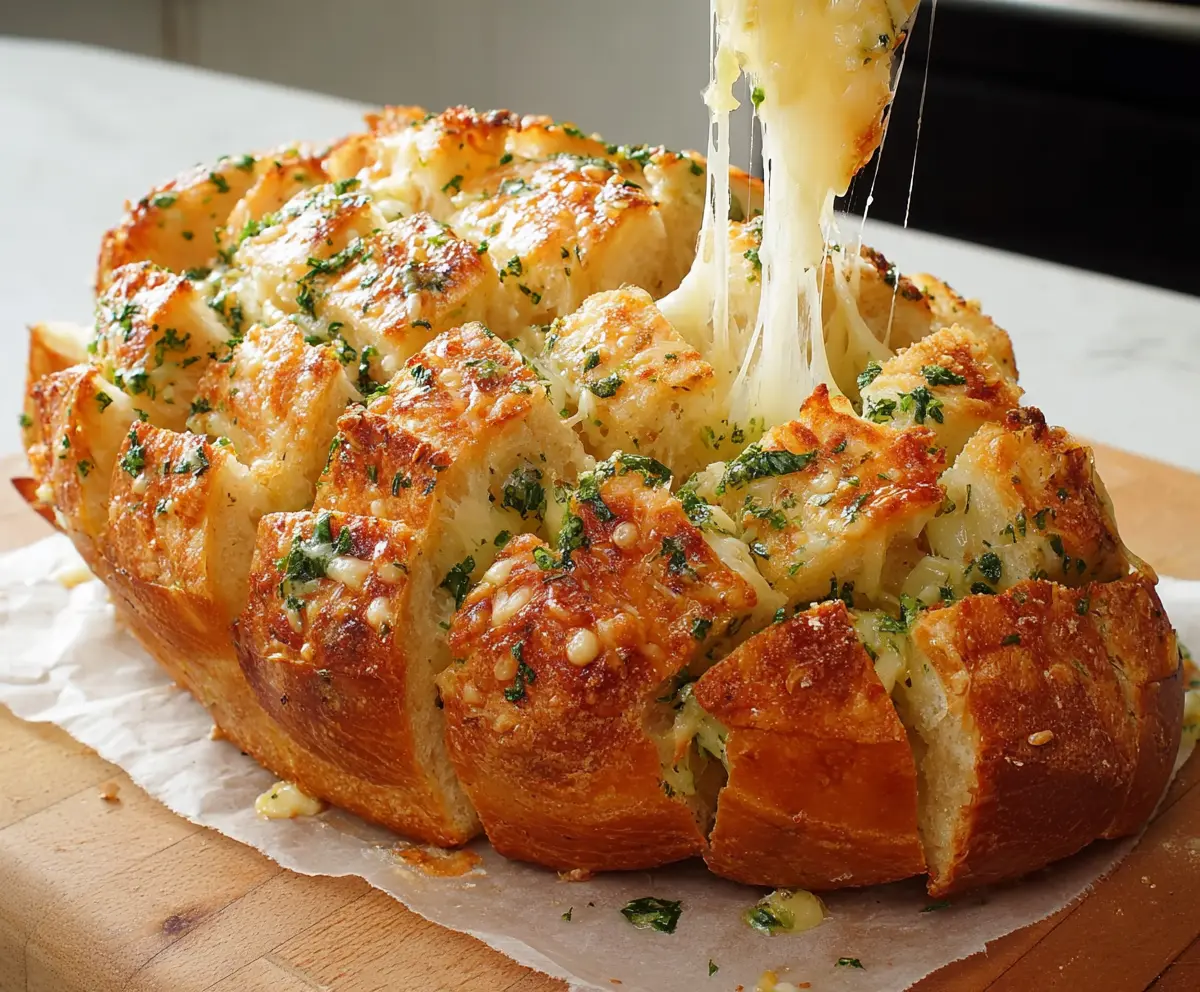
I love making this bread when friends come over because it’s a great finger food that everyone can share. It’s also really easy to customize—adding herbs or extra cheese can make it just right for your taste. Watching the cheese stretch as you pull apart each piece is one of those little joys that always puts a smile on my face.
This bread is perfect alongside pasta dishes or even just on its own as a snack. I often serve it just out of the oven with a little extra sprinkle of parsley for color and freshness. It’s one of those recipes that’s quick to make but feels like a special treat every time. I always find myself wanting to make it again soon!
Key Ingredients & Substitutions
Bread: A round crusty loaf like sourdough or boule is best. It holds the butter and cheese well and crisps nicely. If unavailable, a large French bread loaf works too. Avoid soft sandwich bread for this recipe.
Butter & Garlic: Melted butter mixed with fresh minced garlic gives deep flavor. You can substitute with garlic-infused olive oil for a lighter option.
Cheese: Mozzarella is my favorite because it melts smoothly and stretches well, giving that fun pull-apart effect. Adding cheddar adds a sharper taste. You can swap cheddar for provolone or Monterey Jack if you like.
Herbs: Fresh parsley brightens the flavor, but dried parsley or Italian seasoning are convenient substitutes. Feel free to add fresh basil or oregano for more herb flavor.
How Do You Cut and Stuff the Bread Without It Falling Apart?
The trick is cutting a crosshatch pattern but not slicing all the way through the bottom crust. This keeps the loaf intact and means it bakes as one piece.
- Place the bread on a cutting board and carefully cut vertical slices about 1 to 1½ inches apart. Stop before the knife reaches the bottom crust.
- Make horizontal cuts to form a checkerboard pattern, again stopping before the bottom crust.
- Gently pull apart the pieces just enough to create pockets for spreading butter and stuffing cheese.
- Use a spoon or small brush to spread garlic butter inside each cut, then stuff lots of shredded cheese deep into the gaps for even melting and cheesiness.
- Wrapping the whole loaf loosely in foil while baking lets the bread stay moist inside but the outer crust still crisps up when the foil is removed for the last baking minutes.
Taking your time with these steps ensures the bread pulls apart nicely and gets perfectly golden and gooey. It’s a fun and easy way to get cheesy garlic bread that’s both soft and crispy!
Equipment You’ll Need
- Baking sheet – I use a lined sheet to keep cleanup easy and prevent sticking.
- Sharp serrated knife – helps you cut neat, even patterns in the bread without squishing it.
- Small brush or spoon – for spreading the garlic butter mixture evenly into the cuts.
- Aluminum foil – to wrap the loaf during baking for a soft, moist interior and crispy crust when unwrapped.
- Large cutting board – provides a stable surface for slicing the bread safely.
Flavor Variations & Add-Ins
- Add cooked bacon bits or sliced jalapeños for extra flavor and a little heat.
- Mix herbs like basil, thyme, or oregano into the garlic butter to customize the taste.
- Use different cheeses like pepper Jack or Parmesan for a unique twist.
- Include chopped sun-dried tomatoes or olives for a flavorful Mediterranean feel.
Cheesy Pull Apart Garlic Bread
Ingredients You’ll Need:
For the Bread and Butter:
- 1 large round crusty bread loaf (such as sourdough or boule)
- 1/2 cup (1 stick) unsalted butter, melted
- 4 cloves garlic, minced
- 2 tablespoons fresh parsley, finely chopped (or 1 tablespoon dried parsley)
- 1/2 teaspoon dried oregano or Italian seasoning
- Salt, to taste
For the Cheese:
- 1 to 1 1/2 cups shredded mozzarella cheese
- 1/2 cup shredded cheddar cheese (optional, for extra flavor)
How Much Time Will You Need?
This recipe takes about 10 minutes to prepare and roughly 25-30 minutes to bake. So, in around 40 minutes, you’ll have warm, gooey, and irresistible cheesy pull apart garlic bread ready to share and enjoy!
Step-by-Step Instructions:
1. Preheat the Oven and Prepare the Baking Sheet:
Start by preheating your oven to 350°F (175°C). Line a baking sheet with parchment paper or aluminum foil to make cleanup easier later on.
2. Cut the Bread:
Place your crusty bread on a cutting board. Using a sharp, serrated knife, slice the bread about 1 to 1 1/2 inches apart both vertically and horizontally, creating a crosshatch or checkerboard pattern. Be careful not to slice all the way through the bottom crust so the loaf stays together.
3. Mix the Garlic Butter:
In a small bowl, combine the melted butter, minced garlic, chopped parsley, oregano, and a pinch of salt. Stir well to mix all the flavors together.
4. Add the Garlic Butter to the Bread:
Gently pull apart the bread slices just enough to create small pockets. Use a brush or spoon to drizzle and spread the garlic butter mixture generously between the cuts and over the top of the bread, making sure it soaks in well.
5. Stuff the Bread with Cheese:
Carefully stuff the shredded mozzarella and cheddar cheeses deep into the cuts of the bread, making sure every pocket is filled with cheese for that amazing pull-apart effect.
6. Bake the Bread:
Wrap the entire loaf loosely in foil and place it on your prepared baking sheet. Bake in the preheated oven for 15 to 20 minutes, or until the butter is melted and the cheese begins to soften.
7. Crisp the Top:
Remove the foil and bake for an additional 5 to 10 minutes, until the top of the bread is golden brown, crispy, and the cheese is melted and bubbly.
8. Serve and Enjoy:
Take the bread out of the oven and let it cool for a few minutes. Then serve it warm and enjoy pulling apart those cheesy, garlicky pieces with family or friends!
Can I Use Frozen Bread for This Recipe?
It’s best to use fresh or day-old bread for the best texture. If you only have frozen bread, make sure it’s fully thawed and at room temperature before cutting and stuffing it to avoid sogginess.
Can I Make This Ahead of Time?
Yes! You can prep the bread with butter, garlic, and cheese, then wrap it tightly and refrigerate for up to 24 hours. When ready, bake it as directed—add a few extra minutes if baking straight from the fridge.
How Should I Store Leftovers?
Store any leftovers wrapped tightly in foil or an airtight container in the fridge for up to 2 days. Reheat in the oven at 350°F (175°C) until warmed through to keep the crust crispy.
Can I Customize the Cheese and Herbs?
Absolutely! Feel free to substitute or add cheeses like provolone, Monterey Jack, or Parmesan for different flavors. You can also experiment with herbs like basil, thyme, or rosemary to suit your tastes.