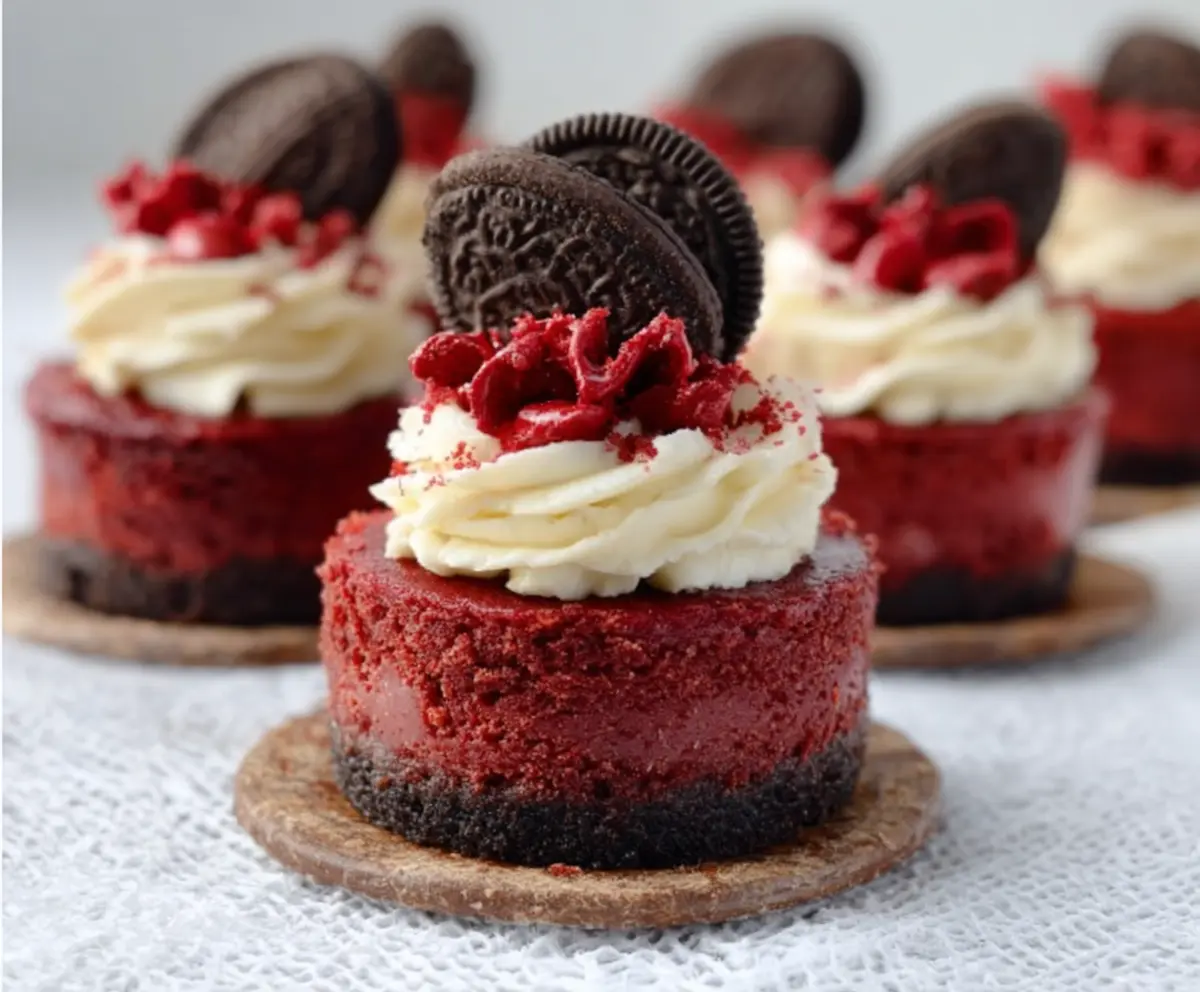
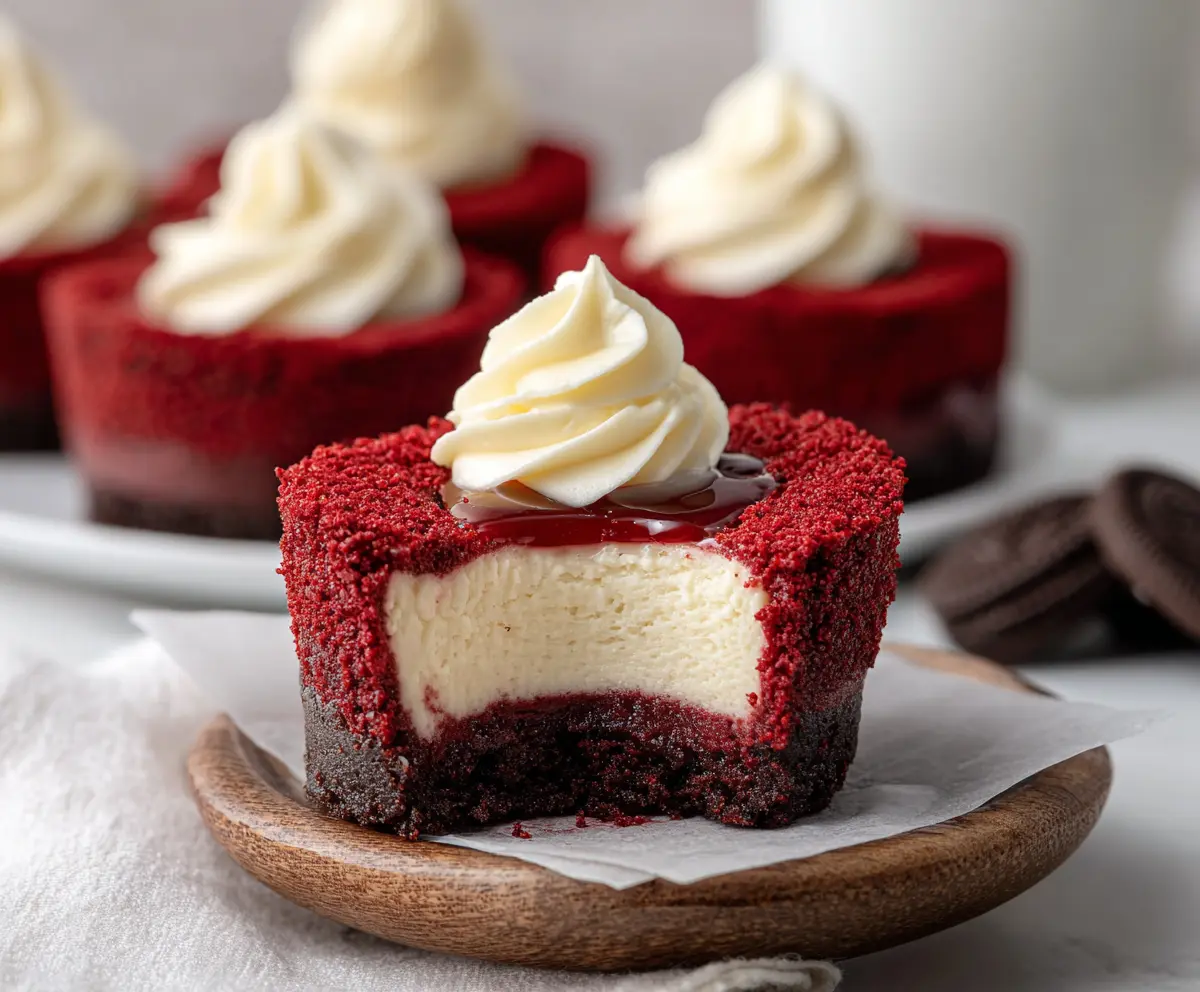
Mini Red Velvet Cheesecakes are little bites of heaven that bring together the classic flavors of red velvet cake and creamy cheesecake all in one. These cute, individual desserts have that rich, smooth cheesecake texture combined with a hint of cocoa and a beautiful red color that makes them perfect for any occasion.
I love making these mini cheesecakes because they’re just the right size for a sweet treat without going overboard. Plus, they’re so fun to decorate—sometimes I add a dollop of whipped cream or a sprinkle of crushed pecans on top to add a little extra crunch and creaminess. They always get compliments, and I think it’s because they feel special but are easy to eat in one or two bites.
Serving these at parties or family gatherings is always a hit. I like to chill them well before serving so the flavors really come through and they hold their shape beautifully. If you’re looking for a dessert that feels fancy but is simple to make, these mini red velvet cheesecakes are definitely the way to go!
Key Ingredients & Substitutions
Oreo Crust: Oreo crumbs give a great chocolaty crunch as the base. If you want a lighter option, try graham cracker crumbs or crushed digestive biscuits. Melted butter helps bind the crumbs together for a firm crust.
Cream Cheese: This is the heart of the cheesecake, creating the rich and creamy texture. Use full-fat for the best results, but low-fat cream cheese can work if you want fewer calories.
Red Food Coloring & Cocoa Powder: The cocoa adds subtle chocolate flavor, while the red coloring gives that classic red velvet look. You can use natural food coloring or beet juice as a substitute if you avoid artificial dyes.
Sour Cream or Heavy Cream: Either adds moisture and smoothness to the filling. Sour cream adds a slight tang, while heavy cream gives more richness. Use whatever you have or prefer.
Heavy Cream for Topping: Whipped cream makes a light contrast to the dense cheesecake. Powdered sugar sweetens it up nicely. You could also use store-bought whipped topping if short on time.
How Do You Achieve Smooth, Crack-Free Mini Cheesecakes?
The secret is to mix and bake carefully to avoid cracks and get a creamy texture:
- Beat Cream Cheese First: Beat on medium speed until smooth and no lumps remain before adding other ingredients.
- Add Eggs Slowly: Incorporate eggs one at a time, mixing gently to avoid overbeating, which can cause cracks.
- Low & Slow Baking: Bake at 325°F (160°C) to cook the cheesecake gently. The edges should be set but the center should jiggle slightly.
- Slow Cooling: Turn off the oven and crack the door open. Let cheesecakes cool inside for one hour to prevent sudden temperature shocks.
- Full Chill: Refrigerate for at least 4 hours before serving. This sets the texture and flavors perfectly.
Following these steps helps your mini cheesecakes stay tender and look flawless—plus, it keeps the texture rich and creamy. I always find that patience during cooling really pays off!
Equipment You’ll Need
- Mini cheesecake pan or muffin tin – I recommend this for easy, uniform batches and to give the cheesecakes their perfect shape.
- Mixing bowls – You’ll need at least two: one for the crust and one for the filling, making prep smoother.
- Hand or stand mixer – A mixer helps create a smooth, lump-free filling quickly and effortlessly.
- Measuring cups and spoons – Precise measurements ensure the right texture and flavor in each mini cheesecake.
- Rolling pin or flat object – Useful for crushing Oreo cookies into fine crumbs if not buying pre-crushed crumbs.
- Spatula or spoon – For mixing and spreading ingredients evenly into the pans.
- Oven – Your oven will bake the cheesecakes to perfection, so make sure it’s preheated and well-calibrated.
- Refrigerator – To chill the cheesecakes thoroughly for the best texture before serving.
Flavor Variations & Add-Ins
- Chocolate Chip Oreo: Add mini chocolate chips to the filling for extra chocolate bites that complement the Oreos.
- White Chocolate & Raspberry: Swirl in melted white chocolate and fresh raspberry puree before baking for a fruity, creamy twist.
- Nutty Topping: Garnish with chopped pecans or walnuts for crunch and added flavor, great for nut lovers.
- Mint Oreo Version: Use mint-flavored Oreos and add a splash of peppermint extract for a cool, refreshing taste.
Mini Red Velvet Cheesecake
Ingredients You’ll Need:
For the Crust:
- 1 ½ cups Oreo cookie crumbs (about 20 Oreos, crushed finely)
- 3 tbsp unsalted butter, melted
For the Cheesecake Filling:
- 16 oz (450g) cream cheese, softened
- ¾ cup granulated sugar
- 2 large eggs
- 1 tsp vanilla extract
- 2 tbsp unsweetened cocoa powder
- 1 tbsp red food coloring (or as needed for deep red color)
- ½ cup sour cream or heavy cream
- 1 tsp white vinegar
- Pinch of salt
For the Topping:
- 1 cup heavy cream
- 2 tbsp powdered sugar
- 1 tsp vanilla extract
- Red velvet cake crumbs (from leftover cake or made separately)
- Mini Oreo cookies or Oreo halves (for garnish)
Time You’ll Need
This whole recipe takes roughly 15 minutes to prepare, about 20 minutes to bake, and then at least 4 hours to chill in the fridge. That chilling time is key for the cheesecakes to set perfectly, so plan ahead to enjoy the best texture and flavor!
Step-by-Step Instructions:
1. Prepare the Crust:
Start by mixing the Oreo cookie crumbs with melted butter in a bowl until the crumbs are evenly coated. Press about 1 to 2 tablespoons of this mixture firmly into the bottom of each muffin cup or mini cheesecake mold to create the crust. Set these aside while you prepare the filling.
2. Make the Cheesecake Filling:
In a large bowl, beat the softened cream cheese with a mixer until it’s smooth and creamy with no lumps. Gradually add the sugar and continue beating until blended well. Add the eggs one at a time, mixing gently after each addition. Then stir in vanilla extract, cocoa powder, red food coloring, sour cream (or heavy cream), vinegar, and a pinch of salt until the mixture is smooth and has a nice red velvet color.
3. Bake and Chill:
Divide the cheesecake batter evenly over the crusts in your muffin tin, filling each about three-quarters full. Bake in a preheated oven at 325°F (160°C) for 18 to 22 minutes. The edges should look set, but the centers will still jiggle a little when you gently shake the pan. Turn off the oven, crack the oven door open, and leave the cheesecakes to cool inside for 1 hour to avoid cracks.
Once cooled, transfer the cheesecakes to the fridge and chill for at least 4 hours or overnight until they’re firm and ready to enjoy.
4. Add the Topping and Serve:
Before serving, whip the heavy cream with powdered sugar and vanilla extract until stiff peaks form. Pipe a pretty swirl of whipped cream on top of each mini cheesecake. Sprinkle with red velvet cake crumbs and place a mini Oreo cookie or half on each for a fun and tasty finishing touch.
Serve these chilled and share their creamy, chocolaty magic with friends and family!
Can I Use Frozen Cream Cheese for This Recipe?
It’s best to use cream cheese that’s fully thawed and softened to room temperature. This makes it easier to beat smooth and helps prevent lumps in your cheesecake filling.
Can I Make Mini Red Velvet Cheesecakes Ahead of Time?
Absolutely! Prepare and bake the cheesecakes a day in advance, then keep them covered in the fridge. They actually taste better after chilling overnight, allowing the flavors to meld perfectly.
How Should I Store Leftover Mini Cheesecakes?
Store leftovers in an airtight container in the fridge for up to 3-4 days. For longer storage, you can freeze them in a sealed container for up to 2 months—just thaw in the fridge before serving.
What Can I Use Instead of Oreos for the Crust?
If you want a different crust, graham cracker crumbs or crushed digestive biscuits work well. Just mix them with melted butter the same way and press into your pan for a delicious alternative base.