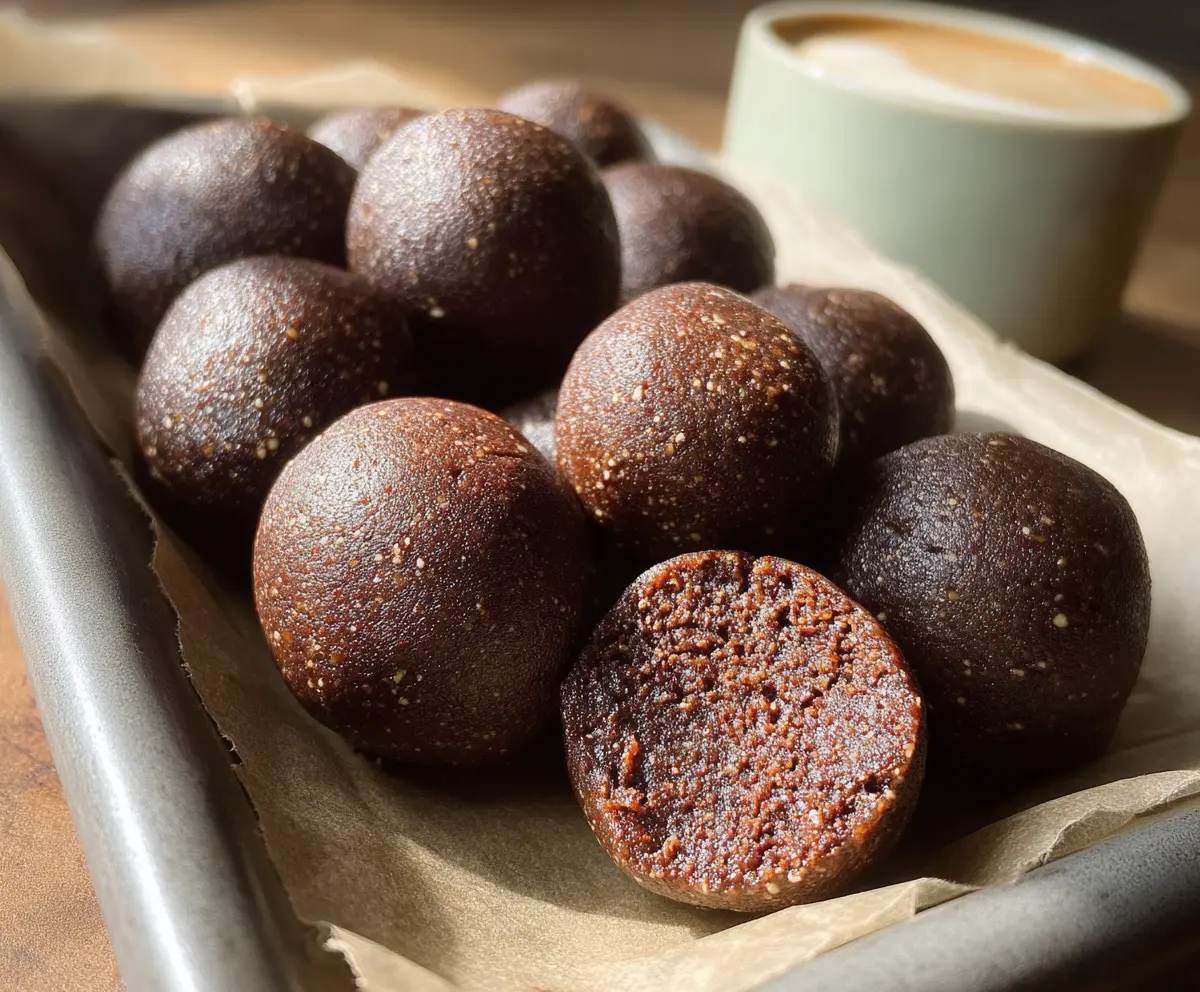
Mocha Espresso Protein Balls are a little bite-sized burst of energy and flavor wrapped into one. These tasty treats combine the rich taste of coffee with the smoothness of chocolate, packed with protein to keep you going through the day. They’re chewy, slightly sweet, and have just the right amount of coffee kick to wake you up without needing a cup of joe alongside.
I love having these on hand when I need a quick pick-me-up between meetings or after a workout. They’re easy to make and perfect for when you want something sweet but also want to feel good about what you’re eating. Plus, I find that the espresso flavor makes them feel like a little morning treat anytime, not just when I’m craving a snack.
My favorite way to enjoy these protein balls is to pop a couple in my bag before heading out for the day—whether it’s to work or a weekend hike. They’re convenient, mess-free, and give me the boost I need without weighing me down. If you’re a coffee lover like me, these will probably become one of your go-to snacks too!
Key Ingredients & Substitutions for Mocha Espresso Protein Balls
Medjool dates: These give natural sweetness and help bind everything together. If you don’t have Medjool dates, you can use other soft dates or soaked dry apricots as a substitute.
Raw almonds & cashews: These nuts add texture and healthy fats. You can swap them for walnuts, pecans, or even sunflower seeds if you have nut allergies.
Instant espresso powder: This ingredient gives the coffee flavor without making the balls wet. If you prefer less caffeine or don’t have espresso powder, use cocoa powder alone or try chai spice for a warm twist.
Cocoa powder: Use unsweetened for a deep chocolate taste. You can try Dutch-processed cocoa for a smoother flavor or raw cacao for extra antioxidants.
Coconut oil (optional): Adds richness and helps keep the balls moist. You can leave it out or swap with nut butter (like almond or peanut) for a different taste and texture.
How Can I Get the Perfect Texture for My Protein Balls?
The texture is key to making these balls enjoyable to eat. Here’s how to get it just right:
- Pulse nuts first: Chop nuts finely but avoid turning them into powder. Small bits give a nice crunch.
- Process the full mixture: Keep blending until the mixture clumps together but isn’t too sticky or wet.
- Adjust consistency: If it’s too dry, add a splash of water or a bit more coconut oil. If too sticky, add extra nuts or cocoa powder.
- Rolling tips: Use slightly damp hands or chill your hands with cold water to prevent sticking while rolling.
- Chill to firm up: Refrigerating helps the balls hold their shape and improves bite.
Following these simple steps means your protein balls won’t crumble or stick too much, making them perfect for snacking anytime.
Equipment You’ll Need
- Food processor – I use this to blend the nuts and dates until they stick together smoothly.
- Measuring spoons and cups – keep things precise, especially for ingredients like espresso powder and coconut oil.
- Mixing bowl – handy for gathering any ingredients or mixing in extras.
- Parchment paper – makes clean-up easy and prevents the balls from sticking to the tray.
- Tray or plate – to hold the formed protein balls as they chill in the fridge.
Flavor Variations & Add-Ins
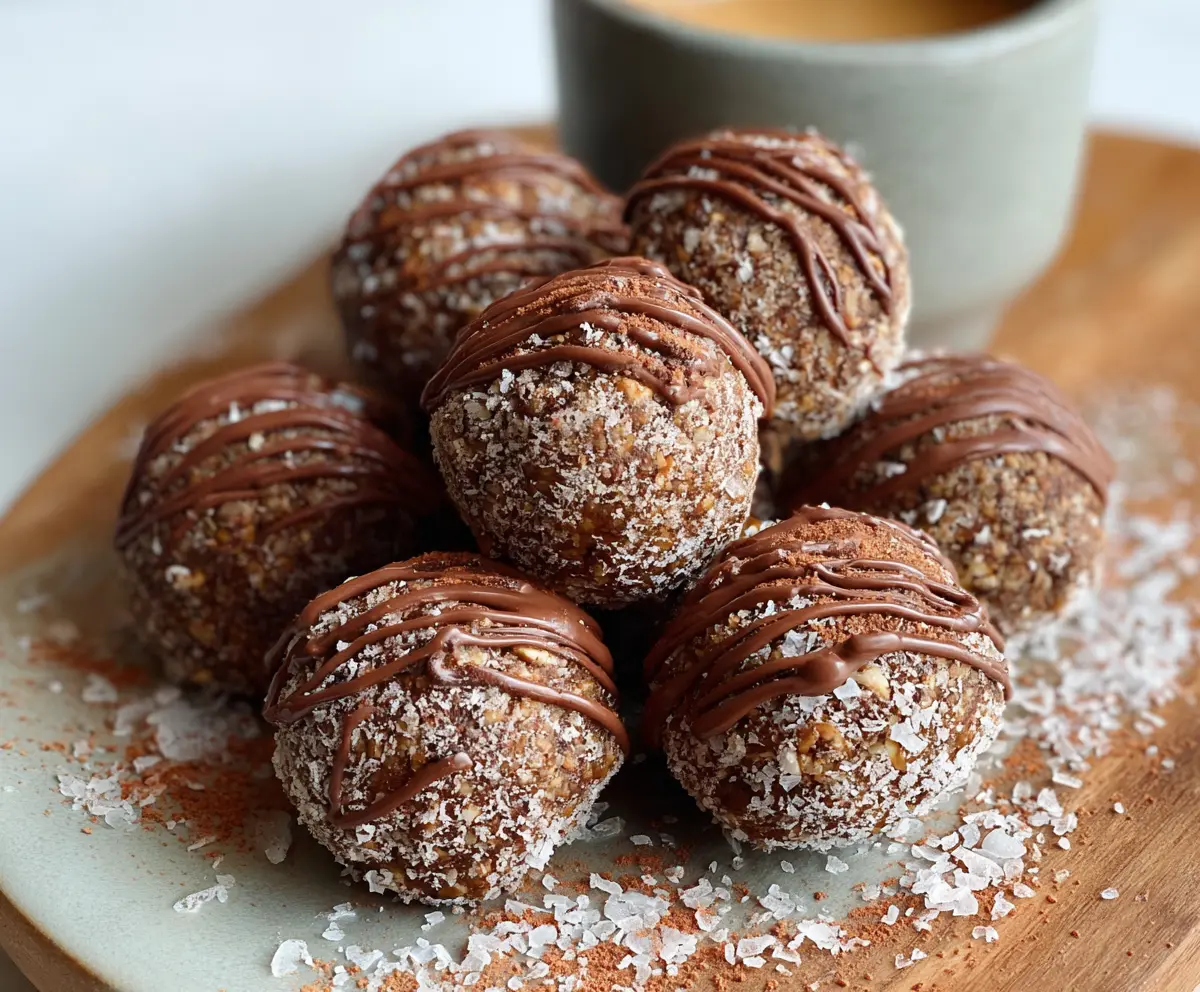
- Chocolate chips or chopped dark chocolate – add for extra chocolate texture and sweetness.
- Coat the balls in cocoa powder, shredded coconut, or crushed nuts – for a varied look and flavor on the outside.
- Add a splash of whiskey or coffee liqueur – for an adult twist with deeper flavors.
- Mix in shredded coconut, chia seeds, or flaxseed – boost fiber and add texture to your bites.
How to Make Mocha Espresso Protein Balls
Ingredients You’ll Need:
- 1 cup pitted Medjool dates
- 1/2 cup raw almonds
- 1/4 cup raw cashews
- 2 tbsp unsweetened cocoa powder
- 1 tbsp instant espresso powder
- 1/4 tsp salt
- 1 tsp vanilla extract
- 1 tbsp coconut oil (optional, for richness)
Time Needed:
This recipe takes about 10 minutes to prepare, plus 30 minutes to chill the protein balls so they firm up nicely. It’s quick and no-bake, making snack prep easy!
Step-by-Step Instructions:
1. Chop the Nuts:
Put the raw almonds and cashews into your food processor. Pulse them until they are finely chopped but not ground into powder. You want little bits that add texture to your protein balls.
2. Mix All Ingredients:
Add the pitted dates, cocoa powder, instant espresso powder, salt, vanilla extract, and coconut oil to the food processor with the chopped nuts. Process everything together until it forms a sticky dough that holds together when pressed. If needed, scrape down the bowl sides to mix evenly.
3. Form the Balls:
Scoop about one tablespoon of dough and roll it between your palms to make smooth, round balls. Repeat until all the mixture is used.
4. Chill and Serve:
Place the protein balls on a tray lined with parchment paper. Refrigerate for at least 30 minutes so they firm up. Once set, you can enjoy them immediately or store them in an airtight container in the fridge for up to two weeks.
Can I Use Other Nuts Instead of Almonds and Cashews?
Yes! Walnuts, pecans, or even sunflower seeds work well. Just make sure to chop them finely for the best texture.
Can I Make These Protein Balls Ahead of Time?
Absolutely! Make a batch and store them in an airtight container in the fridge for up to two weeks. They also freeze well—just thaw in the fridge before eating.
What Can I Use If I Don’t Have Instant Espresso Powder?
You can substitute with brewed espresso grounds (dried first) or use extra cocoa powder for a mocha flavor without the caffeine kick.
How Do I Prevent the Mixture from Being Too Sticky?
If the mixture feels too sticky to roll, add a little more chopped nuts or cocoa powder to balance it out. You can also chill the dough briefly to make it easier to handle.