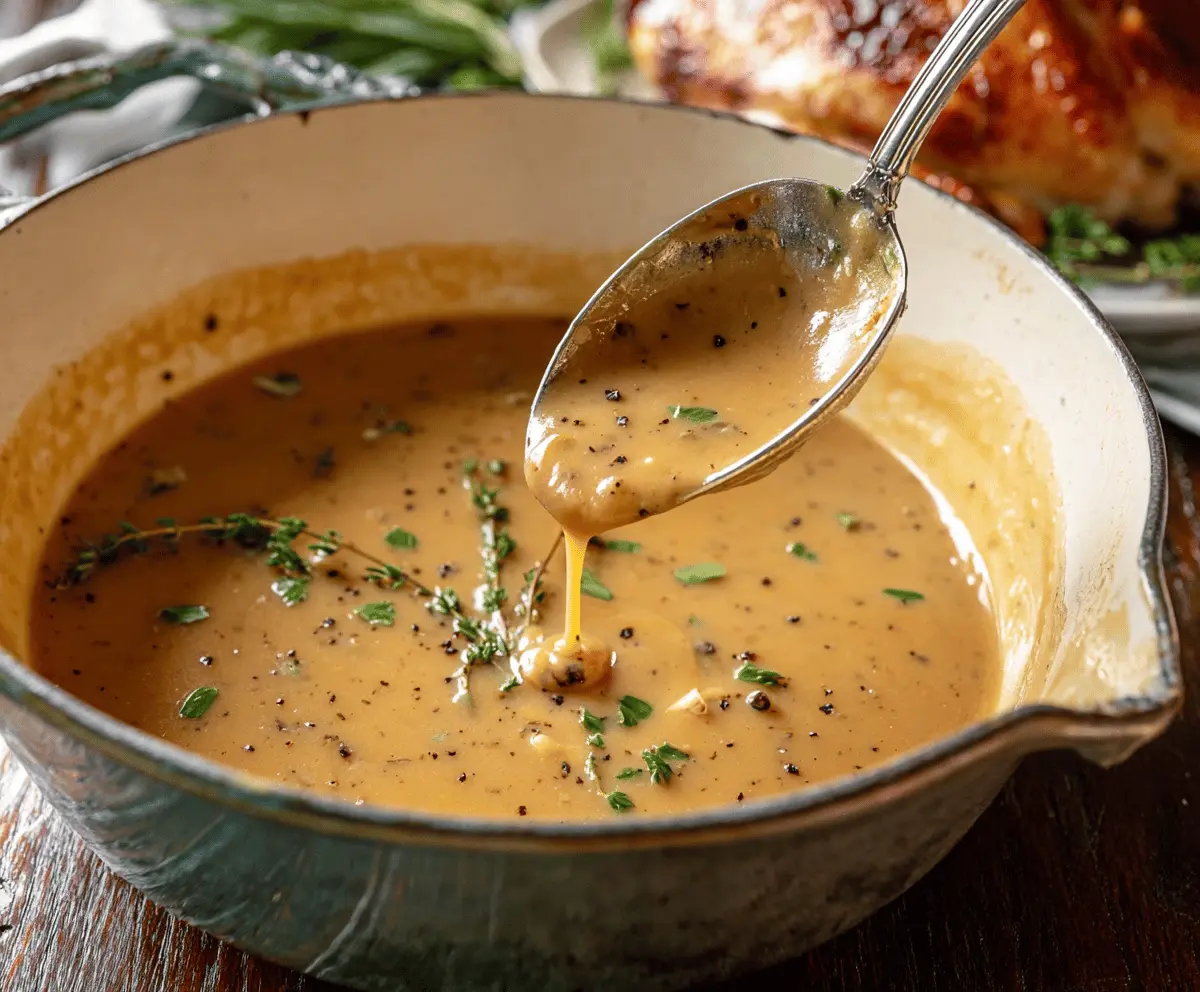
Perfect Turkey Gravy is that rich, smooth sauce that turns any turkey dinner into something extra special. Made from the drippings of a roasted turkey, a little flour, and broth, it brings those deep, comforting flavors right to your plate. It’s velvety with just the right amount of seasoning, making every bite deliciously moist and full of warmth.
I always look forward to making turkey gravy because it feels like the heart of holiday meals and family dinners. One tip I’ve learned is to slowly whisk the flour into the fat before adding the broth—this way, you get a nice smooth texture without lumps. Watching the gravy thicken while filling the kitchen with that amazing smell is one of my favorite moments.
My favorite way to serve this gravy is generously poured over slices of turkey, mashed potatoes, and even stuffing. It’s like a cozy, tasty hug on your dinner plate. Whenever I bring out this gravy, I know everyone’s going to ask for seconds, and I love that feeling of sharing something truly comforting with the people I care about.
Key Ingredients & Substitutions
Pan drippings: These are the flavorful fats from roasting your turkey. They add deep flavor to the gravy. If you don’t have enough, add unsalted butter to reach 1/4 cup—it helps build the roux and gives richness.
Flour: This thickens your gravy. All-purpose flour is classic, but you can use gluten-free flour blends to make it gluten-free. Just keep an eye on consistency, as some substitutes thicken differently.
Turkey broth/stock: Homemade is best for flavor, but store-bought low-sodium broth works fine too. You can use chicken broth if turkey broth isn’t available; it gives a lighter taste.
Fresh herbs: Thyme, sage, or rosemary add lovely aroma and flavor. Use dried herbs if fresh aren’t on hand—but add them earlier so they soften and release flavor.
How Do I Make My Turkey Gravy Smooth and Lumpy-Free?
Getting a smooth gravy without lumps can be tricky but easy with the right method:
- Whisking: When adding flour to the fat, whisk constantly to form a roux. Cook it until golden to remove the raw flour taste.
- Add broth gradually: Pour turkey broth in slowly while whisking—this helps disperse flour evenly and prevents clumps.
- Simmer and stir: Let the gravy bubble gently for several minutes while stirring to thicken and smooth out.
- Troubleshoot lumps: If lumps form, remove the gravy from heat and whisk vigorously or strain through a fine mesh sieve for a silky finish.
Patience is key here, and remember—slow, steady whisking is your best friend!
Equipment You’ll Need
- Medium saucepan or skillet – I prefer a medium size to control heat and stir easily.
- Whisk – makes mixing the roux and broth smooth without lumps.
- Measuring cups and spoons – for accurate measurement of drippings, broth, and herbs.
- Fine mesh sieve (optional) – helpful if you want an extra smooth gravy.
- Fat separator or glass measuring cup – to easily separate and measure the turkey fat from the drippings.
Flavor Variations & Add-Ins
- Use chicken or beef broth instead of turkey broth for a different flavor profile.
- Add a splash of white wine or sherry to the gravy for a richer, tangy twist.
- Stir in sautéed mushrooms or caramelized onions for more texture and depth.
- Mix in a teaspoon of Dijon mustard or a dash of Worcestershire sauce for extra flavor complexity.
Perfect Turkey Gravy
Ingredients You’ll Need:
- 1/4 cup pan drippings (from roasted turkey)
- 1/4 cup unsalted butter (if needed to make up 1/4 cup fat)
- 1/4 cup all-purpose flour
- 2 to 3 cups turkey broth or stock (preferably homemade or low-sodium)
- 1/4 teaspoon freshly ground black pepper (adjust to taste)
- 1/2 teaspoon kosher salt (adjust to taste)
- 1-2 teaspoons fresh thyme leaves (optional, for garnish and flavor)
- 1 teaspoon fresh sage or rosemary, finely chopped (optional)
How Much Time Will You Need?
This gravy comes together quickly, taking about 15 minutes total. You’ll spend a few minutes preparing the roux and then simmer the gravy for about 5 to 7 minutes until it thickens and develops a rich flavor. Perfect timing for making gravy while your turkey rests!
Step-by-Step Instructions:
1. Collect the Pan Drippings:
Once your turkey is done roasting, carefully pour the pan drippings into a fat separator or a glass measuring cup. Let it sit for a few minutes so the fat rises to the top. Measure out 1/4 cup of fat; if there’s less, add some unsalted butter to reach 1/4 cup. Set aside the rest or save for another use.
2. Make the Roux:
In a medium saucepan, heat the 1/4 cup of fat over medium heat. Add the flour and whisk constantly to blend it well. Cook this mixture, called a roux, stirring for 3 to 5 minutes until it turns a beautiful golden brown and smells nutty. This step gives the gravy wonderful flavor and helps avoid a raw flour taste.
3. Add Broth and Thicken:
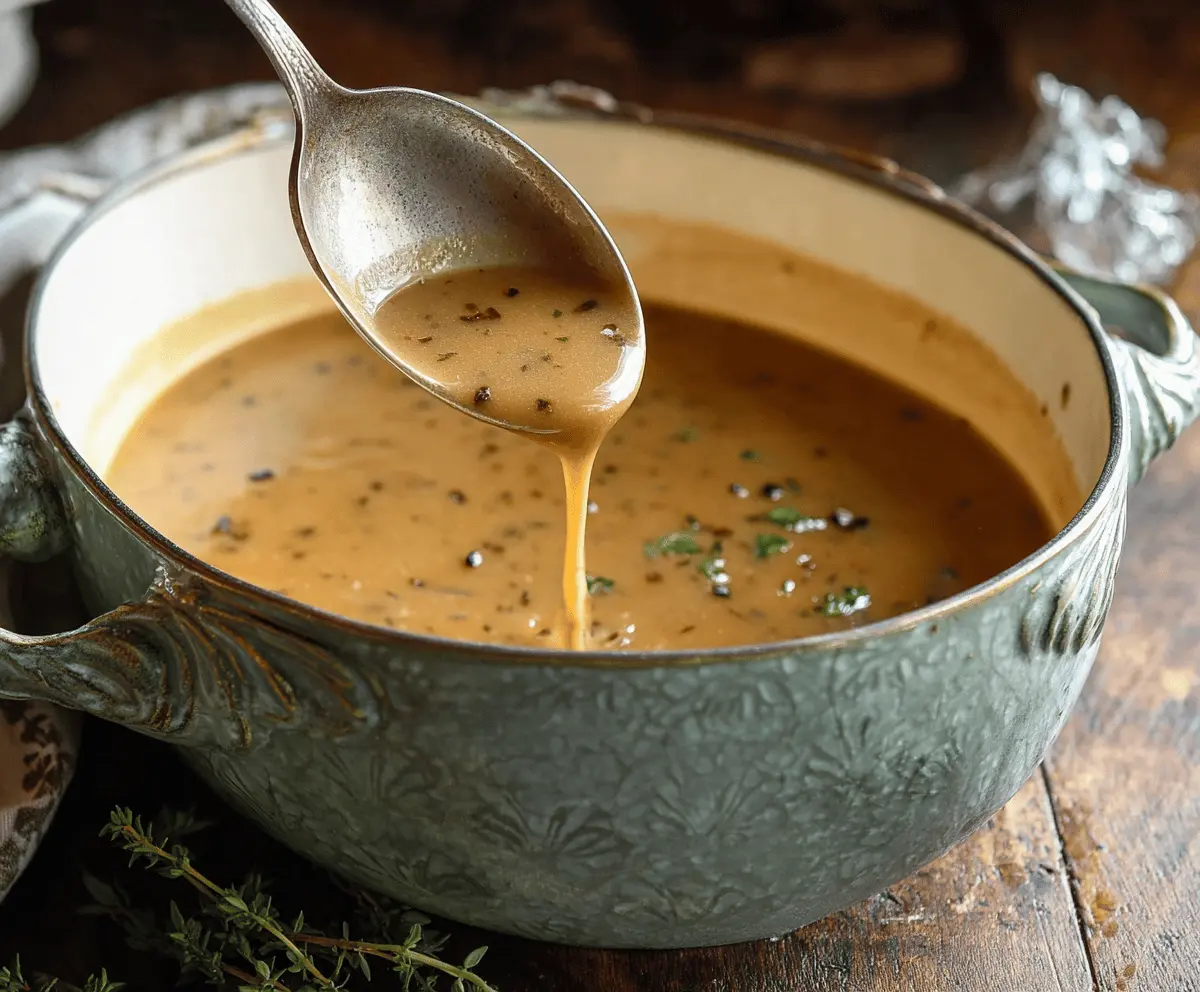
Slowly pour in 2 cups of turkey broth while whisking continuously to prevent lumps. If the gravy looks too thick, add more broth a little at a time until you reach the consistency you like. Bring the mixture to a gentle boil then lower the heat. Simmer and stir often for 5 to 7 minutes, allowing the gravy to thicken beautifully.
4. Season and Finish:
Season your gravy with salt and freshly ground black pepper to taste. For added aroma and freshness, stir in finely chopped herbs like thyme, sage, or rosemary, or simply garnish with fresh sprigs on top. Give it one last taste and adjust seasoning if needed.
5. Serve Warm:
Pour your perfect turkey gravy generously over sliced turkey, mashed potatoes, or stuffing. Enjoy the rich, silky texture and savory flavors that make every bite extra special!
Can I Use Store-Bought Broth Instead of Homemade?
Absolutely! Low-sodium store-bought turkey or chicken broth works well if you don’t have homemade. Just taste and adjust the salt in your gravy accordingly.
How Can I Make Gluten-Free Turkey Gravy?
Use a gluten-free flour blend instead of all-purpose flour for the roux. Be sure to whisk well and watch the thickness since gluten-free flours can behave differently.
What if I Don’t Have Enough Pan Drippings?
No worries! Just add unsalted butter to make up the full 1/4 cup fat needed. This keeps the gravy rich and helps create the perfect roux.
Can I Make This Gravy Ahead of Time?
Yes! Make the gravy up to two days ahead and store it in an airtight container in the fridge. Reheat gently on the stove with a splash of broth to loosen it up before serving.