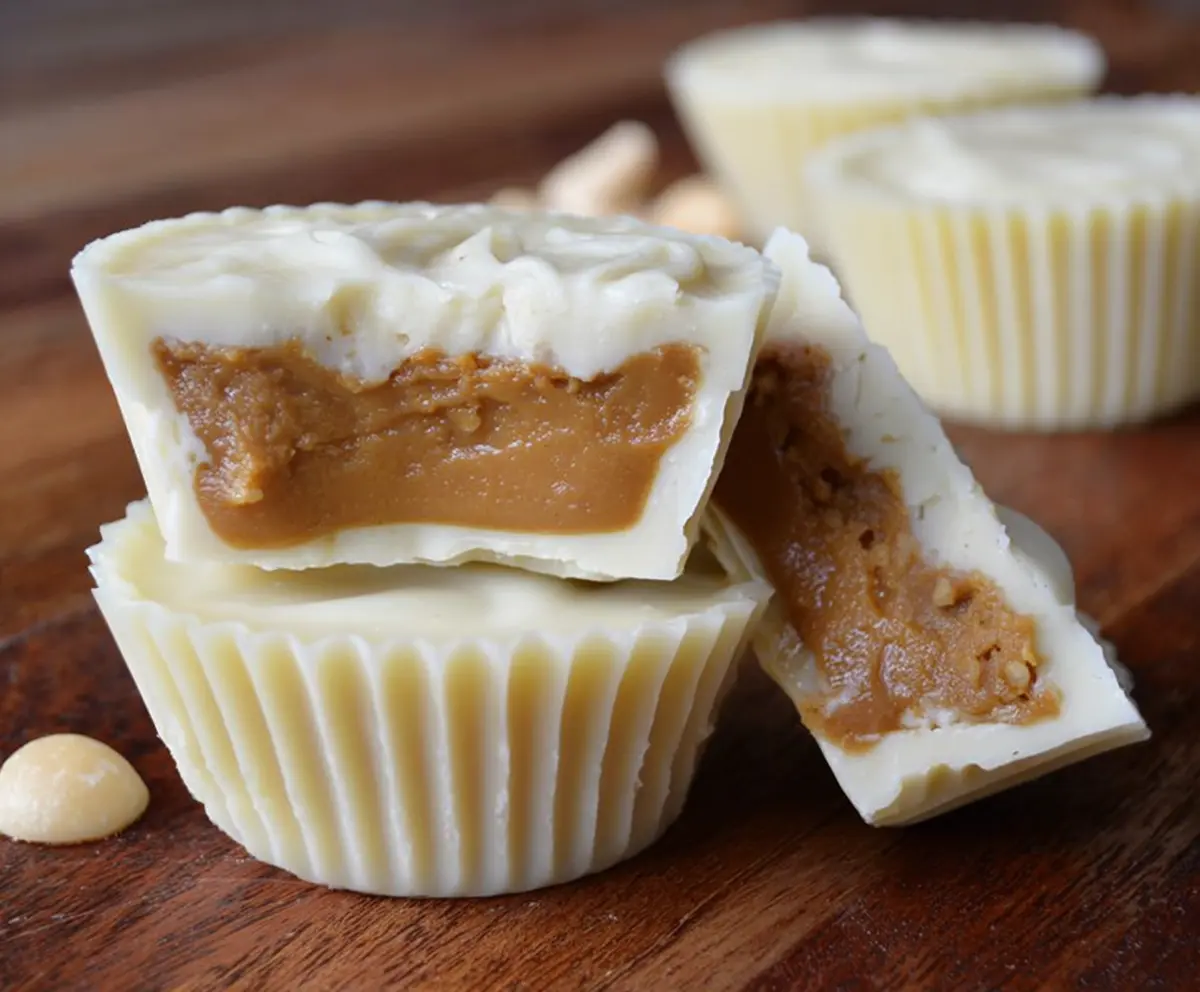
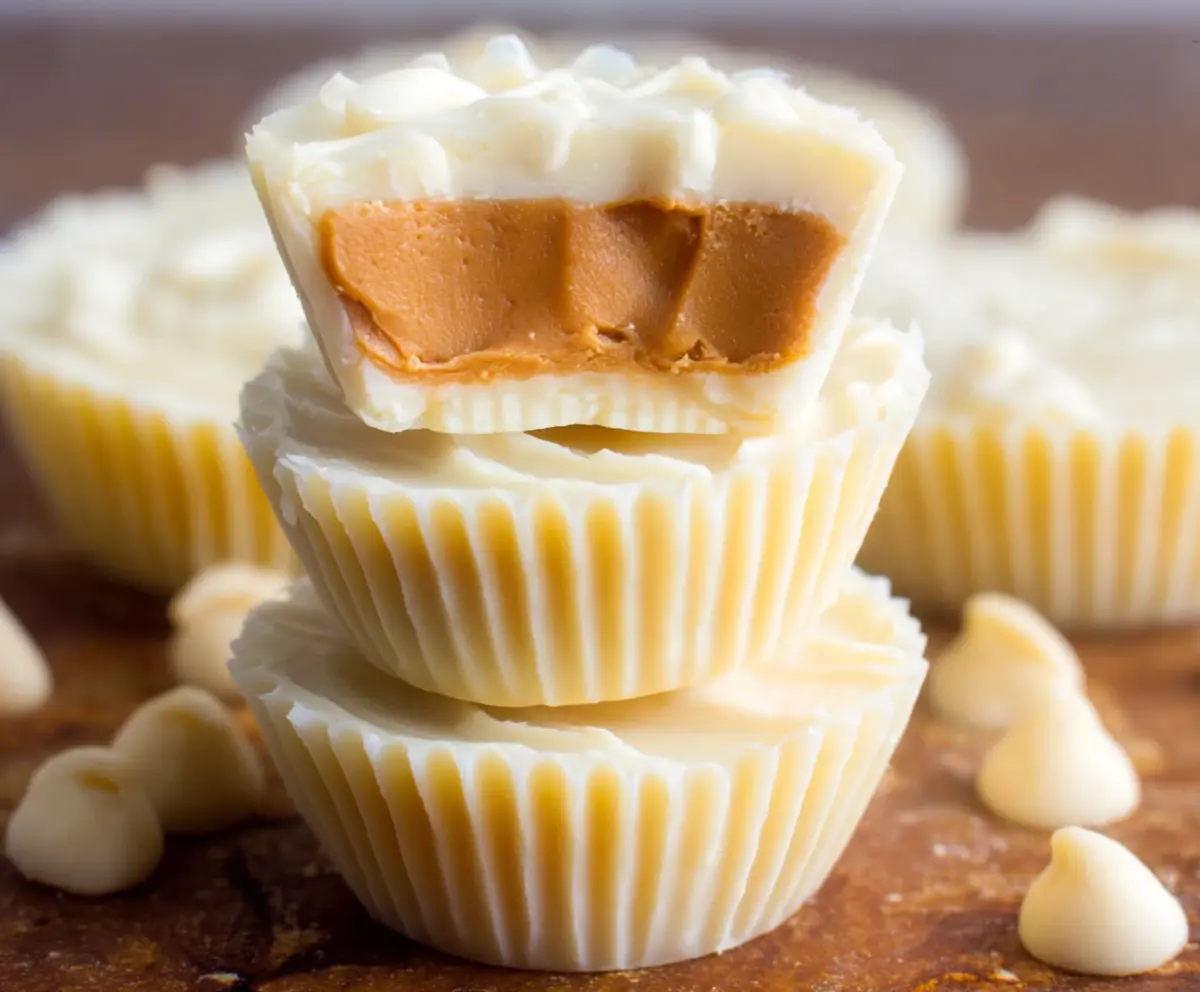
White Chocolate Peanut Butter Cups are a delightful treat that combines creamy white chocolate with rich, smooth peanut butter. These little cups have a perfect balance of sweet and salty flavors, making them an irresistible snack or dessert. Their soft, melt-in-your-mouth texture always brings a smile with every bite.
I love making these cups whenever I want a simple homemade sweet that feels special but doesn’t take forever to prepare. The best part is how easy it is to customize them — sometimes I add a pinch of sea salt on top or a sprinkle of crushed peanuts for a little extra crunch. It’s my go-to recipe when I need something quick and satisfying.
These peanut butter cups are fantastic served slightly chilled, which helps the white chocolate stay firm but still creamy. I often share them with friends during casual get-togethers or keep a stash in the fridge for a quick pick-me-up. There’s something comforting about peanut butter and white chocolate together that just never gets old!
Key Ingredients & Substitutions
White Chocolate: Using good quality white chocolate or chips makes a big difference. If you can’t find white chocolate, white candy melts work well too. Just be sure to melt them gently to avoid clumping.
Peanut Butter: Creamy peanut butter is best for smooth filling. Natural or no-stir peanut butter works great. If you have allergies or want a twist, try almond or cashew butter instead.
Powdered Sugar: This sweetens the peanut butter while giving it a thicker texture. You could also use coconut sugar powder for a less sweet variation.
Butter: Adding softened butter keeps the filling creamy and rich. You can swap with margarine or coconut oil if dairy is an issue.
Vanilla Extract and Salt: These small additions boost flavor. The salt helps balance sweetness, especially if your peanut butter isn’t salted.
How Can I Make the Peanut Butter Cups Look Smooth and Neat?
Getting a clean, smooth chocolate shell might seem tricky, but here’s what helped me:
- Coat Evenly: Use a spoon or small pastry brush to spread the melted chocolate evenly inside each liner.
- Chill in Between: After the first chocolate layer, chilling quickly firms it up and prevents mixing when you add the peanut butter.
- Fill Gently: Press the peanut butter filling down gently but don’t overfill, leaving space for the top chocolate layer.
- Seal Properly: Pour the final chocolate layer slowly, ensuring it fully covers the peanut butter to seal the cup.
- Use Silicone Molds If Possible: They make removing the cups easier and often produce smoother edges than paper liners.
These tips helped me make tidy, delicious cups that look as good as they taste!
Equipment You’ll Need
- Mini muffin tin or silicone molds – I find these make shaping the cups easy and uniform.
- Microwave-safe bowls – perfect for melting the chocolate slowly and evenly.
- Spoons or small brushes – for evenly coating the liners and filling the cups.
- Measuring cups and spoons – helps keep ingredients precise for the best texture.
Flavor Variations & Add-Ins
- Use peanut butter with honey or cinnamon for a different flavor twist.
- Add a few chocolate chips or nibs into the peanut butter filling for crunch.
- Top each cup with a sprinkle of crushed pretzels or sea salt before the final chocolate layer for an extra salty bite.
- Swap white chocolate for milk or dark chocolate for deeper, richer flavors.
White Chocolate Peanut Butter Cups
Ingredients You’ll Need:
For The Chocolate Shell:
- 2 cups white chocolate chips or chopped white chocolate
For The Peanut Butter Filling:
- 1 cup creamy peanut butter (preferably natural or no-stir)
- ¼ cup powdered sugar
- ¼ cup unsalted butter, softened
- ½ teaspoon vanilla extract
- Pinch of salt (optional, especially if peanut butter is unsalted)
Other:
- Mini cupcake liners or silicone molds
How Much Time Will You Need?
This recipe takes about 15 minutes of hands-on prep time, plus another 30 to 45 minutes of chilling time to let the white chocolate fully harden. So, plan for about an hour total from start to finish.
Step-by-Step Instructions:
1. Prepare the Chocolate Cups:
Line a mini muffin tin with cupcake liners or use silicone molds. In a microwave-safe bowl, melt 1 ½ cups of the white chocolate in 30-second bursts, stirring after each, until smooth. Spoon or brush a layer of melted white chocolate onto the bottom and sides of each liner. Chill in the fridge for 10–15 minutes so the chocolate hardens.
2. Make the Peanut Butter Filling:
While the chocolate shells set, mix together peanut butter, softened butter, powdered sugar, vanilla extract, and salt (if using) in a medium bowl. Stir until smooth and creamy.
3. Assemble the Cups:
Once the chocolate shells are firm, spoon about a teaspoon of peanut butter mixture into each cup, pressing down gently but leaving room at the top. Melt the remaining ½ cup of white chocolate and carefully spoon it over the peanut butter layer, fully covering it and sealing the edges.
4. Chill and Serve:
Place the tray back in the refrigerator and chill for at least 30 minutes, or until the cups are completely set. Remove from liners and enjoy! Store leftovers in an airtight container in the fridge.
Can I Use Natural Peanut Butter That Separates?
Yes! Just stir the natural peanut butter well before measuring to recombine the oils. This will help keep the filling creamy and prevent separation in your cups.
Can I Make These Ahead of Time?
Absolutely! You can prepare the peanut butter cups and store them in the refrigerator for up to one week. For longer storage, freeze them in an airtight container for up to 2 months.
How Should I Store Leftover Peanut Butter Cups?
Keep leftover cups in an airtight container in the fridge to maintain their shape and freshness. Let them sit at room temperature for a few minutes before eating if they’re too firm.
Can I Substitute Dark or Milk Chocolate for White Chocolate?
Yes, feel free to swap white chocolate with milk or dark chocolate for a different flavor profile. Just be sure to melt the chocolate gently and temper if you want a glossy finish!