
A packed lunch should not end up costing you more than buying food from a store, but when your sandwich gets wet, your wrap gets gummy or your salad turns to mush by noon, you have twice as much expense. In most cases it’s not the recipe that causes the issue; it’s how long you wait to eat your lunch! This is particularly true for people who pack their lunch as if they will eat right away when they have no idea how much time the food will actually be in a container, bag, fridge, or while they commute to their destination.
The real fix is simple: stop packing a finished lunch, and start packing a lunch that finishes at lunchtime. Once you treat moisture, heat, and crunchy elements as separate jobs, the food holds up better, tastes better, and is much less likely to be abandoned for a $14 takeout order.
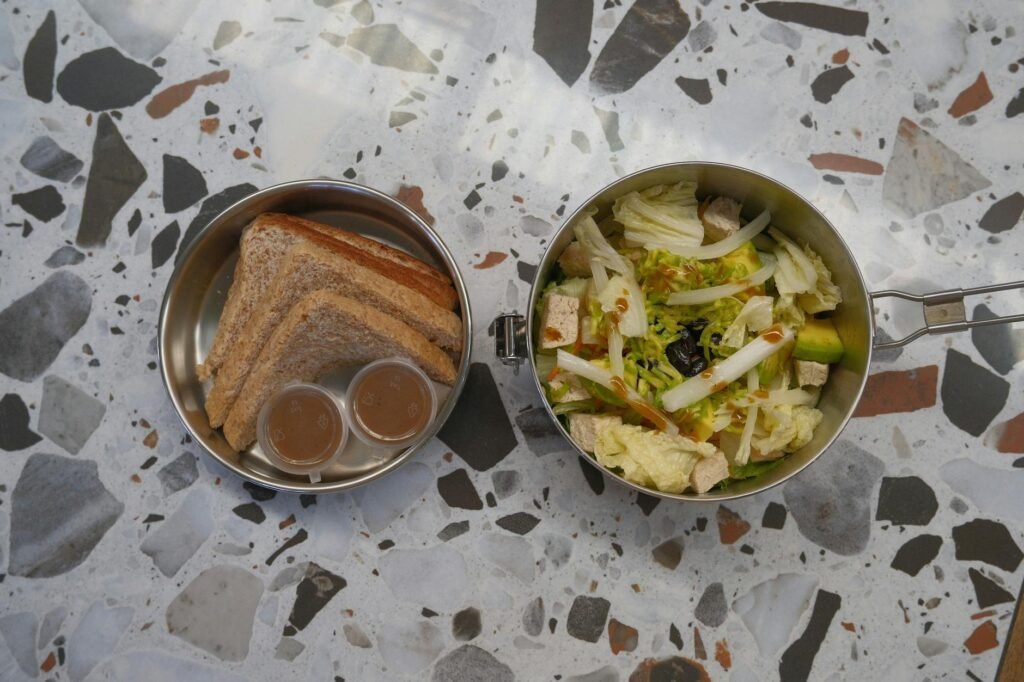
- The main mistake is combining wet or warm ingredients with absorbent foods too early.
- Bread, wraps, greens, rice, and crunchy toppings lose texture when they sit against moisture for hours.
- USDA guidance recommends chilling cooked foods thoroughly before packing and using two cold sources for perishable lunches.
- A cheap fix usually beats a new recipe: separate sauce, cool food fully, build a barrier layer, and pack crunch on the side.
- If two homemade lunches fail each week, the replacement cost can easily exceed $100 a month.
Why this is a money problem, not just a texture problem
A soggy lunch often turns into double spending. You already paid for the groceries, then you pay again for the emergency lunch you buy because the meal you packed no longer feels worth eating. According to the U.S. Bureau of Labor Statistics, the average consumer unit spent $3,945 on food away from home in 2024. That does not mean every bought lunch is wasteful, but it does show how easily the casual “I’ll just grab something” habit can become a meaningful budget line.
The preventable aspect is that many ruined lunches do not result from poor overall planning, but rather one individual prep error made the night beforehand. Examples include: wet tomatoes on the bread; warm chicken sealed up in a container that generates condensation; salad dressing on the lettuce too soon; and granola in the yogurt instead of next to the yogurt. Even if the food is still safe to eat after being prepared properly, the overall quality has deteriorated so much that no one will want to eat what is left over after lunch!
The actual mistake: packing moisture and absorbent ingredients together too soon
research into the science of food surrounding sandwich structures is what we use to understand why this is happening. All moist areas of different food products will allow moisture to migrate from moist to dry areas with passing of time and also the air space within the components will have an impact on the rate at which moisture migrates between these components. For example, if a sandwich containing juicy chicken, cut up vegetables or sauce have been in contact with some form of bread (or tortilla, crouton, lettuce or cooked grain) for several hours, the dry food will slowly lose its texture.
- Dressings, salsa, yogurt, and juicy fillings release free moisture.
- Cut cucumbers, tomatoes, berries, and salted vegetables give off more liquid as they sit.
- Warm leftovers create steam inside a sealed container, and that condensation lands back on the food.
- Soft breads, tortillas, rice, pasta, greens, and crunchy toppings are all quick texture losers when moisture reaches them early.
This guidance USDA provides that perishable foods must be kept at 40°F or less, as well as the guidance on bag lunches that contain perishable food include two cold sources to maintain proper temperatures, such as gel packs or one gel pack and one frozen beverage. Additionally, USDA recommends that cooked foods must be cooled completely prior to packing, not only from a food safety perspective but also from a food quality perspective. If hot food is sealed in a container, steam builds up and will continue to cook the food inside the container while cooling down.
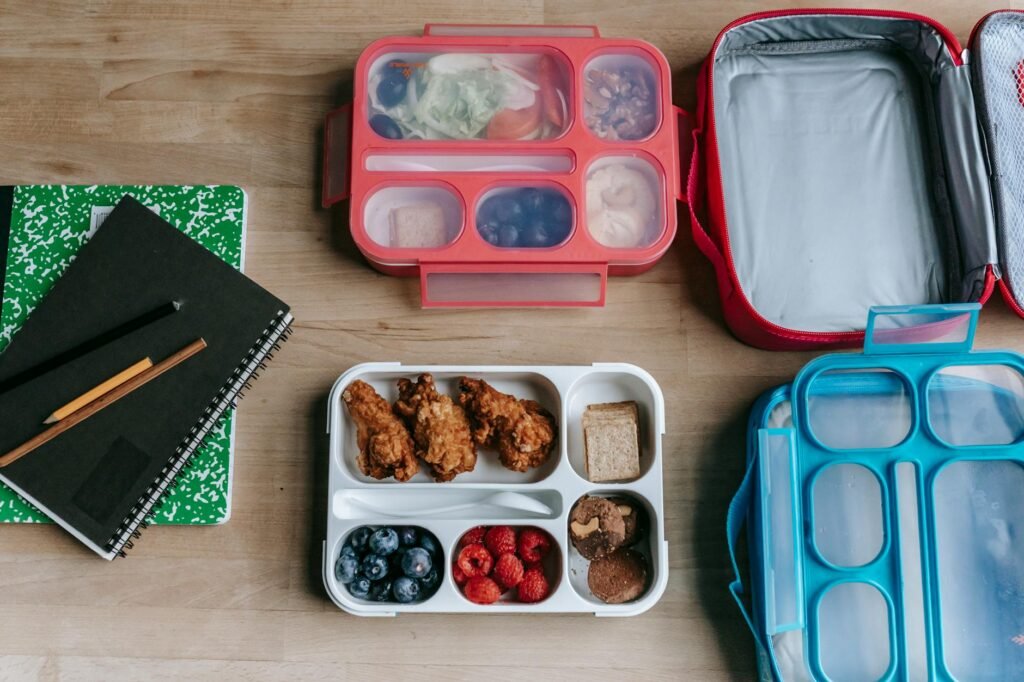
Use the Noon-Crisp Audit before you pack
The Noon-Crisp Audit Tool will help you score your lunch using five different elements. For each element, you will give yourself either 0, 1, or 2 points. The total score for your lunch should be between 8 and 10 to indicate it is likely to sustain you through the workday. If your total score is between 5 and 7, this indicates a concern regarding the adequacy of your lunch to provide you with the necessary energy throughout the day. If your total score is less than 5, this indicates that you prepared or packed up your meal too long before it was going to be consumed.
| Check | 0 points | 1 point | 2 points | Fast fix |
|---|---|---|---|---|
| Temperature | Packed while warm | Mostly cool, but not fully chilled | Fully chilled before packing | Cool cooked items in shallow containers first |
| Water source | Juicy items mixed in | Some moisture, partly drained | Wet items separated or very dry-packed | Move tomatoes, cucumbers, fruit, and dressings to side cups |
| Barrier layer | Wet filling touches bread, greens, or crunch | Partial barrier | Full buffer between wet and absorbent items | Use cheese, lettuce, deli meat, or a thin fat-based spread as a buffer |
| Sauce timing | Already dressed or sauced | Lightly coated | Sauce added at lunch | Pack a 1- to 2-ounce leakproof cup |
| Container setup | Everything in one space | Divided but crowded | Separate compartments for wet and crisp elements | Keep crunch and cut produce apart until lunch |
If your score comes in at a 4 (low) do not make a major change to improve your lunch with a more elaborate recipe. Instead, take one of the weak points and modify it to improve your score. Re-cooling your lunch to a safe temperature, removing your sauce from your lunch or creating a barrier between your wet and dry food will, in most cases be a little less expensive and much more consistent than buying a new container or abandoning your homemade lunch completely.
What this looks like in dollars
Say Marcus packs four work lunches a week at an ingredient cost of about $4.75 each. On paper, that is solid. But two of those lunches turn soft and unappealing by noon, so he buys a nearby lunch for $13.25 instead. Each failed lunch now costs $18.00 in total: $4.75 wasted at home, plus $13.25 spent again. If that happens eight times a month, the leak is $144 monthly, or about $1,728 over a year.
Compare that with a simple setup: an insulated lunch bag, two gel packs, a divided container, and two small sauce cups. Even if that costs $35 to $45 upfront, it can pay for itself quickly if it prevents only a handful of replacement lunches. The lesson is not that everyone needs gear. It is that lunch quality has real cash value when it determines whether you actually eat the food you packed.
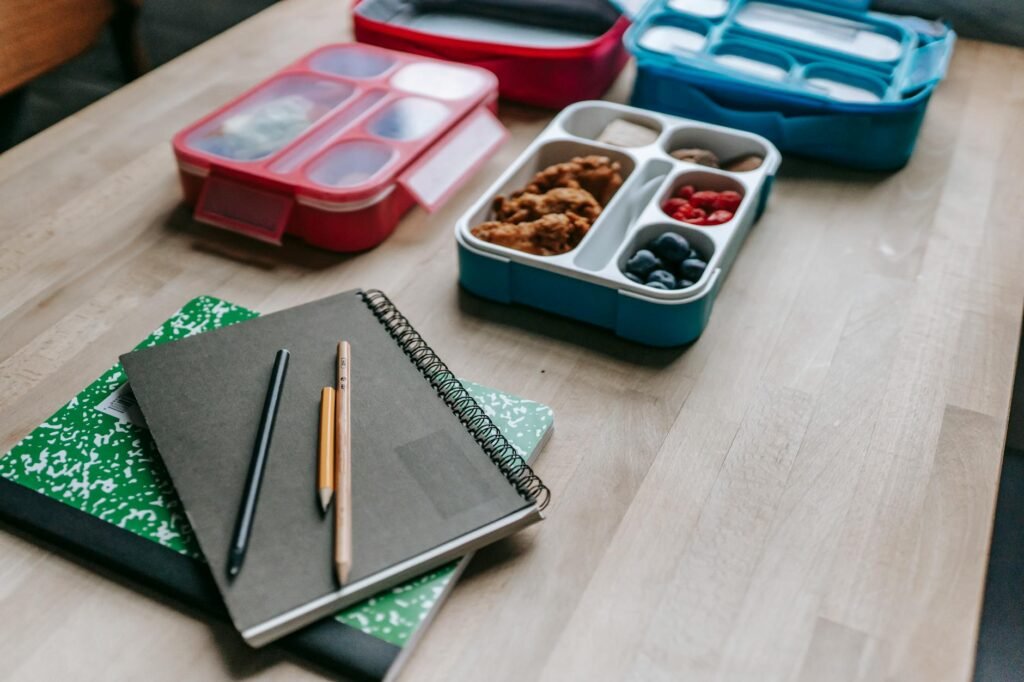
Build lunches in layers, not as finished meals
- Cool cooked components first. If you made rice, pasta, chicken, or roasted vegetables, chill them before sealing them into lunch containers. Warm food creates condensation, and condensation ruins texture fast.
- Separate wet from dry. Salad dressing, salsa, yogurt, juicy fruit, tomatoes, cucumbers, and pickled items belong in their own cups or compartments whenever possible.
- Build a slice of cheese as a moisture shield: When assembling your sandwich or wrap ahead of time, use cheese, lettuce, deli meat, or another thick, solid item between the two pieces of bread and any wet item. Add a very thin layer of a fatty spread (like creamy salad dressing) to buffer wet fillings for some sandwiches.
- Pack crunchy items on the side. Croutons, tortilla strips, granola, crackers, toasted nuts, and fried toppings should be added at lunch, not at 9 p.m. the night before.
- Choose sturdier bases when you need make-ahead reliability. Hearty bread, thick wraps, cabbage slaw, kale, pasta, and grain bowls generally hold longer than soft sandwich bread, delicate greens, or thin tortillas.
- When it comes to temperature, it is also important to consider the texture of food items. Whenever you are transporting perishable foods (such as meat, eggs and dairy) in your lunch; make use of a thermal bag and place two cold sources inside the insulated bag, just like the USDA guidelines recommend. Additionally, a cold lunch is frequently a less soggy lunch.
A decision table for common work lunches
| Lunch type | Assemble the night before? | Keep separate until lunch | Budget-minded backup if the main plan is risky |
|---|---|---|---|
| Turkey sandwich on hearty bread | Yes, if fillings are cold and fairly dry | Tomato, pickle, dressing, very wet condiments | Pack whole fruit and nuts so you still have a usable meal |
| Chicken salad or green salad | Partly | Dressing, croutons, cucumbers, berries | Use crackers or pita on the side instead of pre-added crunch |
| Rice or grain bowl | Yes, after ingredients are fully chilled | Sauce, avocado, fresh herbs, crispy toppings | Use a lemon wedge and salt packet if you want less mess |
| Veggie wrap | Only if vegetables are very dry | Tomatoes, salsa, watery slaw | Pack the vegetables as a side and fill the wrap at lunch |
| Yogurt parfait | No, not fully | Granola, cereal, toasted nuts, juicy fruit | Pack dry oats or cereal separately and stir in at work |
| Leftover pasta lunch | Sometimes | Extra sauce and fresh cheese | Pack bread or crackers separately so the meal still feels complete |
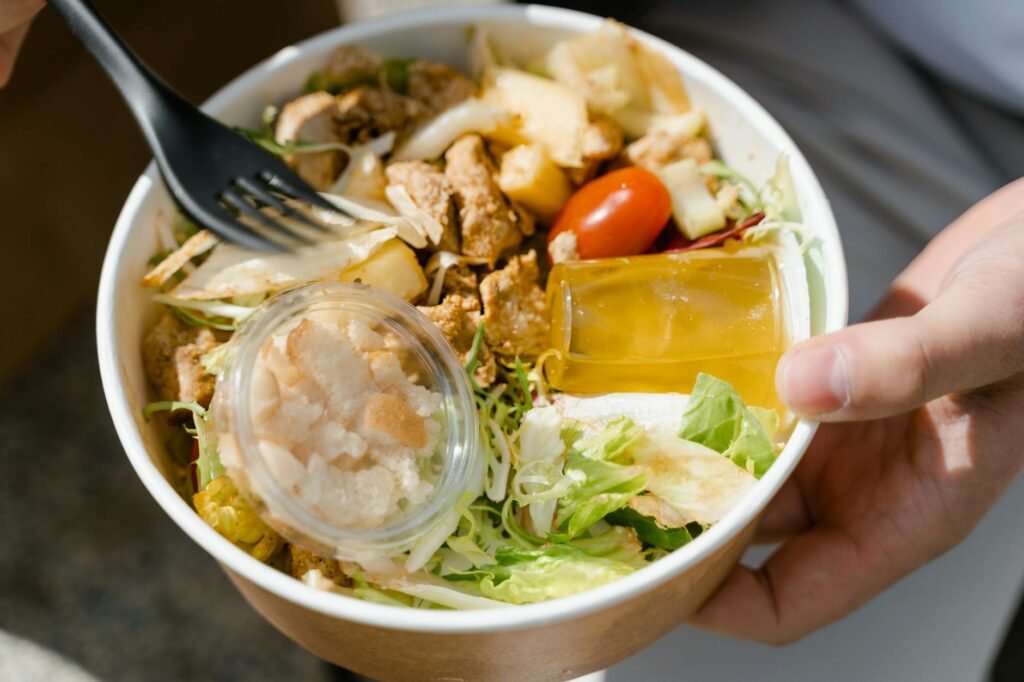
Where good lunches usually break down
At prep time
It’s all in or nothing at all when people season with sauce and combine all the ingredients in one shot for convenience’s sake. Dinner preparation does not equal lunch decoration! By salting cucumbers, slicing tomatoes, and then tossing greens into a wrap the night before, you are starting the timer. The efficiency you have on the clock at 9 PM will often make for a poor trade the following day at noon.
In the fridge
The refrigerator doesn’t stop moisture from moving, but it does slow down the rate at which moisture moves. If the wet filling of a sandwich sits directly on the bread overnight, the sandwich will go soggy by morning. Therefore, some of the best solutions to soggy sandwiches are related to how the sandwich is constructed as opposed to the sandwich’s temperature. For example, barriers, separation, and ingredient selection all help keep sandwiches from becoming soggy over time.
During the commute
Even after being in the refrigerator, a lunch can be ruined on the way to work. They are subjected to bouncing, flattening, warming, and turning sideways. If you carry your lunch in a backpack, it is more important than you think for your lunch container to provide separation between food items. separation is not just for neatness; it provides the following benefits: toppings stay as crisp; there will be little chance of leakage; and the odds that a decent lunch does not turn into one big soggy mess are greatly improved.
Common mistakes that waste lunch money
- Packing hot leftovers straight into a deep container and sealing them before they are fully chilled.
- Putting cut tomatoes, pickles, or cucumbers directly against bread or tortillas.
- Dressing salads the night before unless the greens are very sturdy and the portion is meant to marinate.
- Assuming the container material is the whole issue. Separation usually matters more than whether the container is glass or plastic.
- Using delicate breads for wet fillings when a sturdier roll, wrap, pasta, or grain bowl would travel better.
- Forgetting that salty ingredients pull out moisture. Even a good lunch can get watery after olives, pickles, or salted vegetables sit for hours.
- Packing crunchy toppings in the same container because it feels simpler, then wondering why the texture disappears.
When the tidy solution is not enough
In a number of situations, the correct solution to a packaging problem will be ‘do not pack within a package’ as opposed to using a package. When you have long trips and no refrigerator in your work place, as well as hot summer weather, and/or your lunch gets banged around all day, some foods are not a good choice for you. A tomato sandwich that is awesome to eat when at home Is likely to be a big disappointment by the time you arrive at work, not because you lack discipline, but simply because that type of food is incompatible with each other.
- Use a deconstructed lunch: bread or crackers, sliced protein, cheese, and raw vegetables packed separately.
- Freeze certain sandwiches ahead if they are good candidates. USDA and Extension guidance both note that some sandwiches hold up well this way, while mayonnaise-heavy or lettuce-and-tomato versions usually do not.
- Switch to a hot lunch in a thermos for soups, chili, or grain dishes if cold lunches keep failing.
- Keep a low-moisture emergency backup at work: peanut butter, crackers, nuts, tuna pouch, shelf-stable soup, or oatmeal. That backup is often cheaper than buying lunch on the spot.
How to verify that your new system actually works
Stop estimating how well you will do for the work week based on historical records. Take your lunch or dinner and create a pressure test for yourself by doing the following:
1- Use the same way you normally pack it for Day 1,
2- Move sauce out for Day 2,
3- Fully chill each cooked item prior to mixing each item and making your lunch for Day 3,
4- Add some sort of barrier layer between two cooked ingredients for Day 4,
5- Pack separate from each other crunchy toppings and all cut up vegetables(salad) for Day 5
Once you have eaten your meal, write down three things that describe how your lunch was on that day: 1- texture, 2- leak risk, and 3- if you would eat it again tomorrow.
Conducting a mini audit is a very important step as it helps to prevent you from addressing an incorrect issue. For example, if lunch meets the criteria of being cold and safe but still not pleasant to consume, then the structural integrity of the lunch is the problem. If by noon the ice packs are at no longer cold when used, then temperature management was the issue. If the lunch gets to work with the wraps of each of the sandwiches torn apart, then the issue will be related to packaging or potentially overfilling of the sandwiches. Make one change at a time, and you’ll see that the problem will eventually become clear to you much faster.
Bottom line
One lunch preparation error that causes sogginess to food by midday is an early finish time to preparing it. Moisture, heat, and crunchy textures do not belong in the same container unless they will be eaten at the same time; separate the different components by using some distance between them, making sure they are well-chilled, and then adding any wet elements right before eating. Besides having a better-tasting lunch, you will save money on your lunch because you will eat it.
FAQ
Can I make sandwiches the night before and still keep them from getting soggy?
Sandwiches can sometimes be made for storing, but to make sure they stay fresh when you pack them, you have to use firmer bread, chill down the ingredients before you make the sandwich, do not put any moist, wet ingredients into the sandwich and create a barrier between your sandwich’s bread and your wet ingredients. If your sandwich has tomato, pickles (or lots of sauce) as part of its ingredients, usually you should pack the tomatoes, pickles (and lots of sauce) separately from the other components and assemble your sandwich at lunch.
Do I need expensive glass containers to fix this problem?
Generally, no. The material of the container should matter less than how it is laid out. A simple hard-sided container with distinct compartments, and one or two small leakproof cups, typically solves the majority of lunch challenges without the expense of a more expensive container that combines everything into one. If you are working on a tight budget, prioritise the purchase of separators and cooling packs ahead of purchasing matching sets.
Is the bread always the problem?
Sandwich bread is often the first victim of poor quality food. The actual cause of this is upstream upstream to include filling being too warm, produce being damp, too much sauce, and improper separation. If the structure were improved, ordinary sandwich bread will also be able to hold up better due to being structurally sound.
What if I do not have a fridge at work?
If you have to accommodate the inclusion of perishable types of lunch, the USDA guide indicates you must provide cold holding for perishable lunches, preferably in an insulated container with 2 cold sources. When bringing a cold lunch is not reasonable, you can either pack foods with lower moisture content that keep well without refrigeration or pack your meal in a container specifically designed for thermal retention to keep it warm.
Are salads always a bad packed lunch?
No. Just a need for more solid planning. Pack salad greens dry, keep dressing in a container sealed away from the green bowl, and add your crunchy toppings at the time of serving. Elements of a salad that consist of chopped cabbages and kales, pastas, beans, or grains typically hold up longer than spring mix salad greens if your lunch is going to sit for several hours.
What is the fastest low-cost fix if I can change only one thing this week?
Remove any moisture from your food by removing items like salad dressing, salsa, tomato, wet fruit, and crunchy toppings and placing them into separate containers. Almost always, this is the single most successful way to improve your lunch experience, especially if you provide ample refrigeration/ice for the vegetables in your lunch.
References
- USDA Food Safety and Inspection Service: Keeping “Bag” Lunches Safe – https://www.fsis.usda.gov/food-safety/safe-food-handling-and-preparation/food-safety-basics/keeping-bag-lunches-safe
- USDA Blog: Use an Insulated Lunch Bag to Keep Meals Safe – https://www.usda.gov/about-usda/news/blog/use-insulated-lunch-bag-keep-meals-safe
- U.S. Bureau of Labor Statistics: Consumer Expenditures – 2024 – https://www.bls.gov/news.release/pdf/cesan.pdf
- University of Minnesota: Modeling Moisture Migration in a Sandwich System – https://experts.umn.edu/en/publications/modeling-moisture-migration-in-a-multi-domain-food-system-applica-2
- Washington State University Extension: Pack a Safe Lunch – https://s3.wp.wsu.edu/uploads/sites/2052/2016/07/eb1490.pdf